Actuator shoulder bolt tightening
If you notice any play or looseness in the shoulder bolts connecting the actuators to the TetraSki frame, it is imperative that skiing be discontinued immediately until the bolts can be tightened or replaced.
If loose bolts are discovered during the middle of a ski run, the TetraSki should be switched to beginner mode and carefully skied down to a location where repairs can be made.
Failure or falling out of the actuator bolts will result in total control loss of the TetraSki and poses a significant safety concern to the skier, instructors, and members of the general public. Connections with loose bolts have significantly less strength and a higher risk of failure!
Tools & Materials
This process requires a torque wrench capable of measuring relatively low torque (35 in-lb, 4 Nm). This will usually be a 1/4-inch drive and is commonly used for bike repair. Contact Tetradapt Support if you have any questions on tools.
High-strength threadlocker (Loctite RED or similar) is critically important and should not be left out/substituted for a lower strength threadlocker.
Materials Needed (for each bolt):
1x - Existing bolt, inspected for bending or stripped threads OR replacement bolt from spare parts kit.
2x - Washers (existing or from spare parts kit)
1x - 8-32 Nut (existing or from spare parts kit)
1x - High-strength threadlocker
Tools Needed:
Torque wrench (click-type recommended) capable of 20 in-lb of torque minimum
11/32-inch socket
3/32-inch allen wrench
Socket extension (1 inch to 3 inch recommended)
Replacing the outer bolt
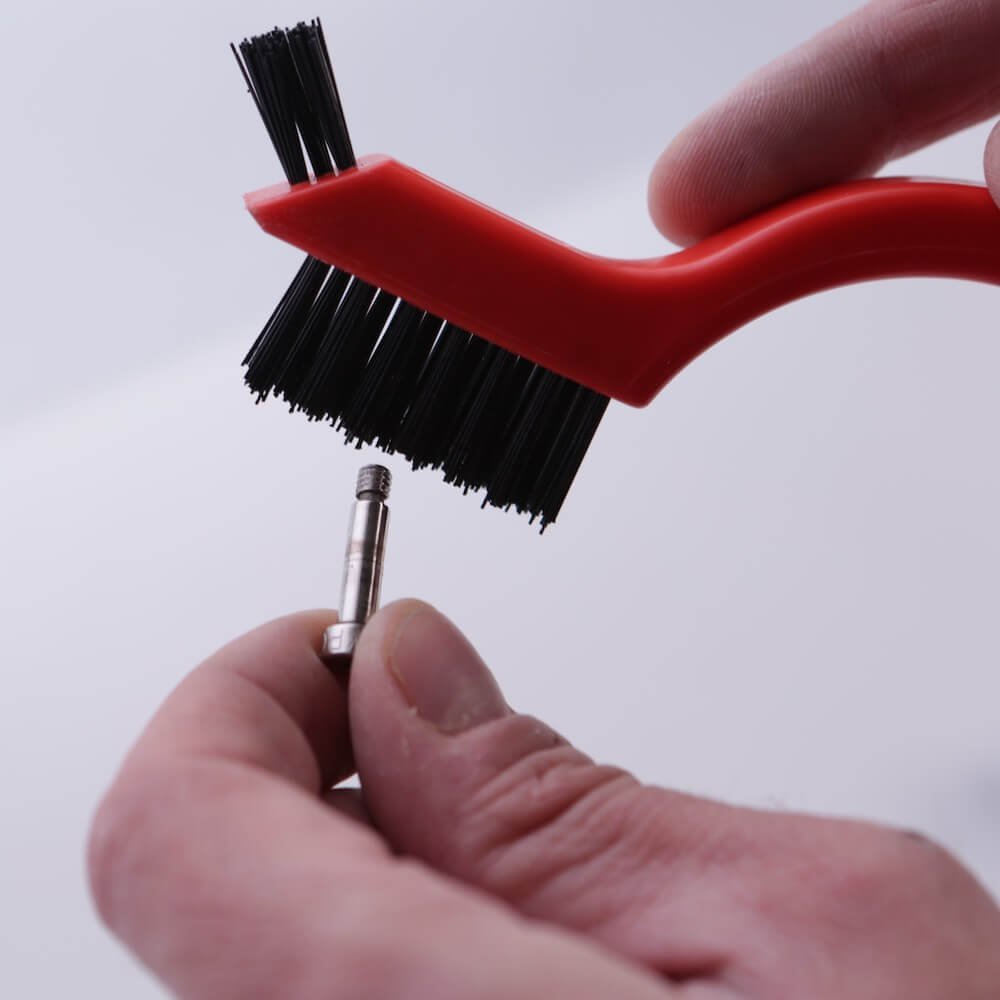
If the bolt(s) is just loose and not missing, it may be reused, but still should be inspected for signs of bending/damage and all old threadlocker should be removed from the threads using a brush.
(1) While holding the actuator to prevent sudden dropping, remove the loose bolt, keeping track of the nut and washers. Gently lower the actuator onto the frame.
(2) Inspect the bolt, and replace with a new one from your spare parts kit if there is any sign of bending or damage.
(3) If reusing the old bolt, clean the dried thread locker off the threads with an old toothbrush or firm bristled brush.
(4) Insert the new outside screw and washer into the hole on the ski pivot arm.
Including each component in the correct order is critical! Leaving out a washer, for example, won’t allow the nut to clamp on the actuator joint fully, resulting in a weaker connection.

(5) Add another washer to the other side, then the actuator end.

(6) Apply some low strength thread locker, and then tighten the nut to finger tight.

(7) Using your torque wrench and 3/32” allen wrench, tighten the nut to 35 in-lb (4 Nm).
(8) Gently attempt to move the joint, making sure everything is tight and there’s no play in the connection.
(9) Allow a minimum of 24 hours for the threadlocker to cure before skiing again.
Replacing the inner bolt
If the bolt(s) is just loose and not missing, it may be reused, but still should be inspected for signs of bending/damage and all old threadlocker should be removed from the threads using a brush.
(1) It is necessary to elevate the ski into the loading position, and tilt it forward so the inner nuts can be accessed from underneath.
Use the socket+extension and the 3/32” allen wrench for this procedure.
(2) While holding the actuator to prevent sudden dropping, remove the loose bolt, keeping track of the nut and washers. Gently lower the actuator onto the frame.
(3) Inspect the bolt, and replace with a new one from your spare parts kit if there is any sign of bending or damage.
(4) If reusing the old bolt, clean the dried thread locker off the threads with an old toothbrush or firm bristled brush.

(6) Insert the inside screw through the inside actuator end, and then add a washer to the other side.

(7) Insert the screw through the top of the inside actuator tab.

(8) Add another washer to the bottom of the black tab, and then add a drop of high-strength threadlocker.
Including each component in the correct order is critical! Leaving out a washer, for example, won’t allow the nut to clamp on the actuator joint fully, resulting in a weaker connection.

(9) Thread the nut onto the screw and tighten using a socket extension on the torque wrench to 35 in-lb (4 Nm). Make sure the washer is centered on the screw and sits flush against the frame tab.

(10) The actuator should now be firmly attached to the frame. Gently attempt to move the joint, making sure everything is tight and there’s no play in the connection.
(11) Allow a minimum of 24 hours for the threadlocker to cure before skiing again.